Setup Wizard
When browsing to the WebGUI, you will first be greeted by a login screen. For the username enter admin and for the password, enter DefenseBolt .
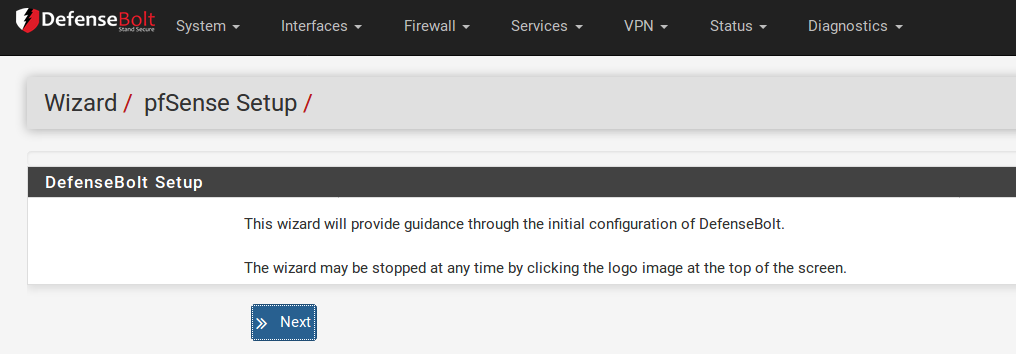
Since this is the first time visiting the WebGUI, the Setup Wizard will begin automatically. Setup Wizard Starting Screen. Click Next to start the configuration process.
Note
Using the setup wizard is optional. If you need to create a more complex configuration or if the default values are acceptable, you may simply click the logo at the top of the wizard to get back to the firewall configuration. Once out of the wizard, you may then make any needed adjustments manually from there.
General Information Screen
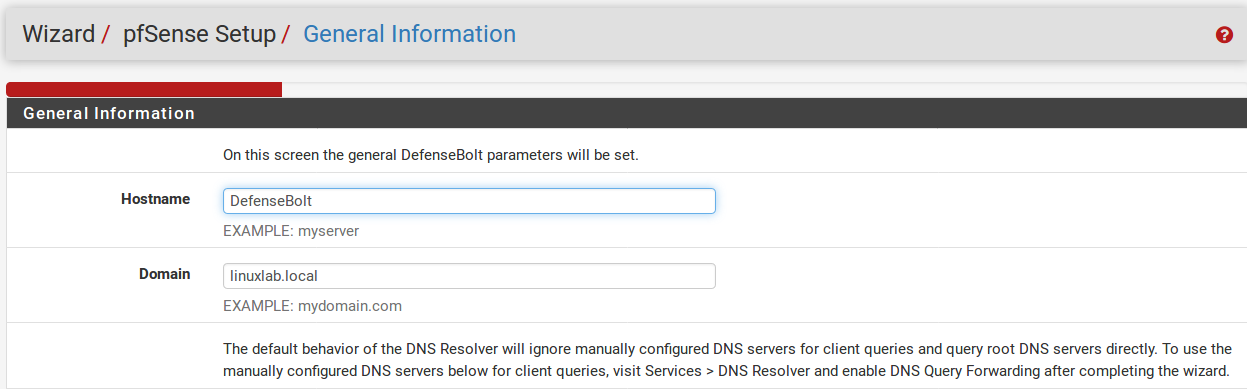
The next screen will ask for the name of this DefenseBolt router, and the domain in which it resides. The Hostname can be anything you like, but must start with a letter, and then it may contain only letters, numbers, or a hyphen. After the hostname, enter a Domain, e.g. example.com . If you do not have a domain, you can use <something>.localdomain, where <something> is anything you want: a company name, your last name, nickname, etc. The hostname and domain name are combined to make up the fully qualified domain name of your firewall.

The Primary DNS Server and Secondary DNS Server may be filled in, if known. If you are using a dynamic WAN type such as DHCP, PPTP or PPPoE connections, these will usually be automatically assigned by your ISP and can be left blank. These WAN types are explained in more detail later in the Setup Wizard. Click Next when finished
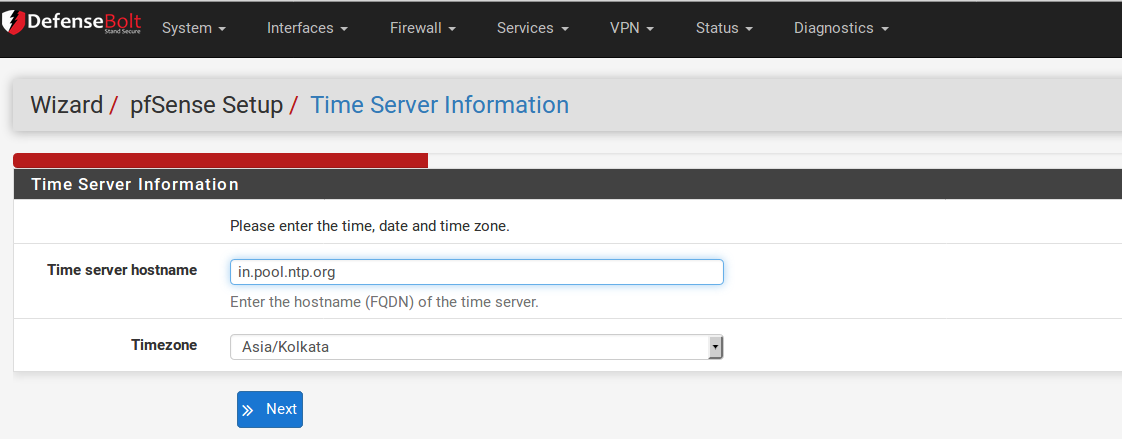
The next screen has a place for a Network Time Protocol (NTP) server, and the time zone in which this server resides. Unless you have a specific preference for an NTP server such as one inside your LAN, it is best to leave the Time server hostname at the default 0.DefenseBolt.pool.ntp.org , which will pick a random server from a pool of known-good NTP hosts. If multiple time servers are desired, they may be added in the same box, separating each server by a space. For example, if you want four NTP servers, enter 0.DefenseBolt.pool.ntp.org 1.DefenseBolt.pool.ntp.org 2.DefenseBolt.pool.ntp.org 3.DefensebBolt.pool.ntp.org . Thenumbering is specific to how .pool.ntp.org operates and ensures each address is drawn from a unique pool of IPs so the same server does not get used twice.
For the Timezone selection, choose a geographically named zone which best matches the DefenseBolt system’s location. When finished, click Next to continue.
WAN Configuration
These next few paragraphs and their associated images will help guide you through setting up the WAN interface on the DefenseBolt system. Since this is the side facing your ISP or upstream router, there are configuration choices to support several common ISP connection types. The first choice is for the WAN Type (Figure WAN Configuration). This should match whatever your ISP supports, or whatever your previous router was configured to use. Possible choices are Static, DHCP, PPPoE, and PPTP. The default choice is DHCP since it is very common, and in most cases will allow a router to “Just Work” without additional configuration. If you are not sure which WAN type to use, or which fields to configure, you will need to obtain this information from your ISP. If your WAN type is not available in the wizard, or you need more information about the WAN types found here, you will find a lot more detailed information in Interface Types and Configuration.
Note
If you have a wireless interface for your WAN interface, some additional options may appear which are not covered during this walkthrough of the standard Setup Wizard. You may refer to Wireless, which has a section on Wireless WAN for additional information. You may need to skip the WAN setup for now, and then perform the wireless configuration afterward.
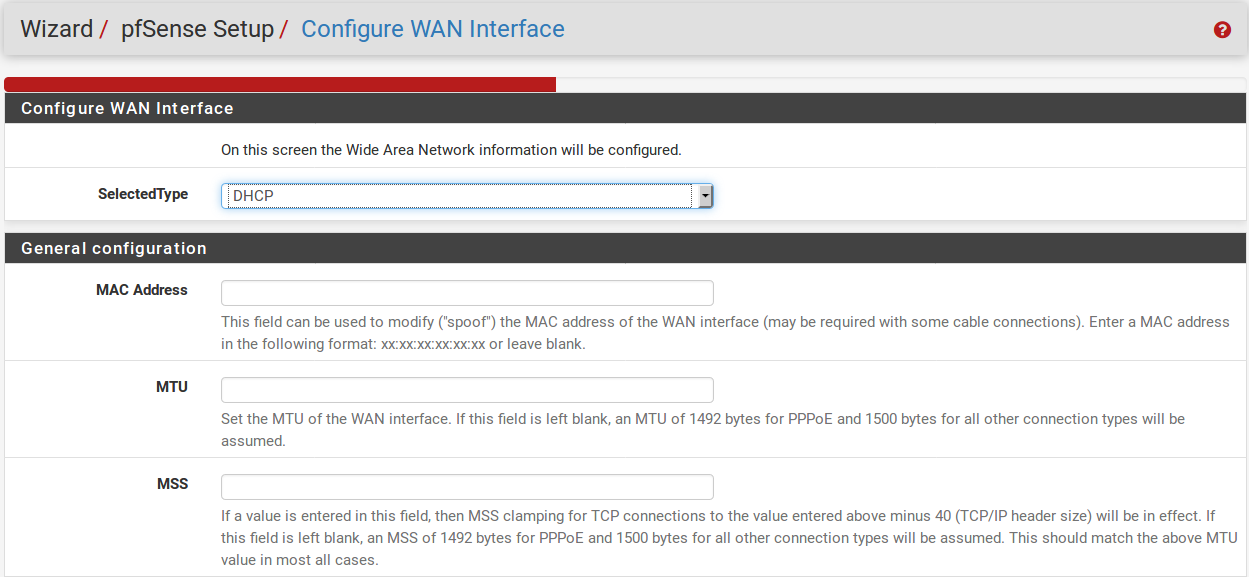
The MAC Address field in the next section is useful for replacing an existing router with minimal complications. Some ISPs, mainly those run by Cable providers, will not work properly if a new MAC address is encountered. Some require power cycling the modem, others require registering the new address with them over the phone. If this WAN connection is on a network segment with other systems that locate it via ARP, changing the MAC to match and older piece of equipment may also help ease the transition, rather than having to clear ARP caches or update static ARP entries.
Note
If you ever intend on using this firewall as part of a high availability cluster (See High Availability), do not spoof the MAC address.
The Maximum Transmission Unit (MTU) size field seen in Figure General WAN Configuration can typically be left blank, but can be changed if desired. Some situations may call for a lower MTU to ensure packets are sized appropriately for your Internet connection. In most cases, the default assumed values for the WAN connection type will work properly.
The Maximum Segment Size (MSS) field seen in Figure General WAN Configuration can typically be left blank, but can be changed if needed. This field enables MSS clamping, which ensures TCP packet sizes remain adequately small for a particular Internet connection. This is usually only set on PPPoE type WANs, where the standard default MSS clamping is inadequate for a particular Internet provider.

If the Static choice for the WAN type is chosen, the IP address, CIDR Subnet mask, and Gateway must all be filled in . This information should be obtained from your ISP or whoevercontrols the network on the WAN side of your DefenseBolt router. The IP Address and Gateway must both reside in the same Subnet.

Some ISPs require a certain DHCP hostname to be sent along with the DHCP request to obtain a WAN IP. If you are unsure of what to put in this field, try leaving it blank unless directed otherwise by your ISP.
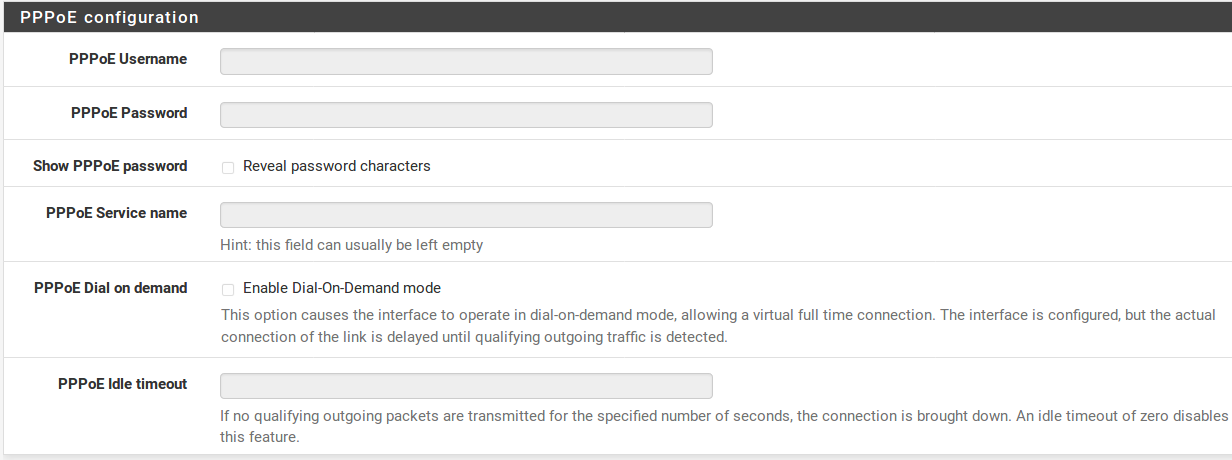
When using the PPPoE (Point-to-Point Protocol over Ethernet) WAN type you must at least fill in the fields for PPPoE Username and PPPoE Password. These will be provided by your ISP, and typically are in the form of an e-mail address, such as mycompany@ispexample.com . The PPPoE Service name may be required by some ISPs, but is oftenleft blank. If you are in doubt, leave it blank or contact your ISP and ask if it is necessary.
PPPoE Dial on demand will cause DefenseBolt to leavethe connection down/offline until data is requested that would need the connection to the Internet. PPPoE logins happen quite fast, so in most cases the delay while the connection is setup would be negligible. If you plan on running any services behind the DefenseBolt box, do not check this, as you will want to maintain an online connection as much as possible in that case. Also note that this choice will not drop an existing connection.
The PPPoE Idle timeout specifies how much time DefenseBolt will let the PPPoE connection go without transmitting data before disconnecting. This is really only useful when coupled with Dial on demand, and is typically left blank (disabled).
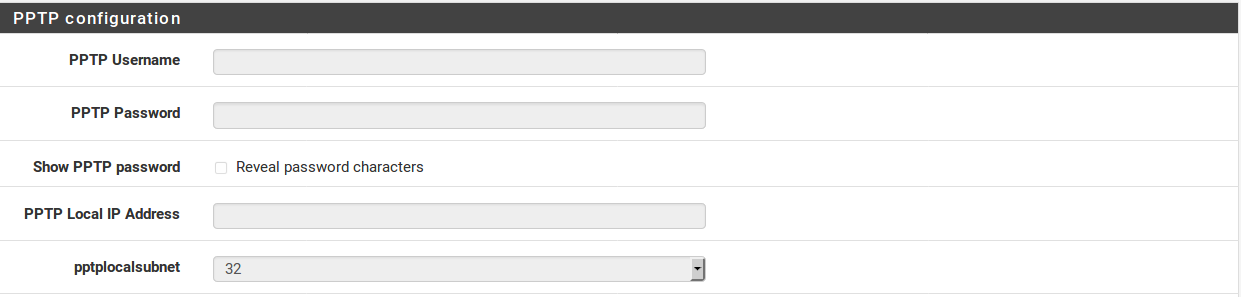

The PPTP (Point-to-Point Tunneling Protocol) WAN type (Figure PPTP WAN Configuration) is the source of some confusion. This option is for ISPs that require a PPTP login, and not for connecting to a remote PPTP VPN. These settings, much like the PPPoE settings, will be provided by your ISP. Unlike PPPoE, however, with a PPTP WAN you must also specify a Local IP address, CIDR subnet mask, and Remote IP Address to establish the connection.
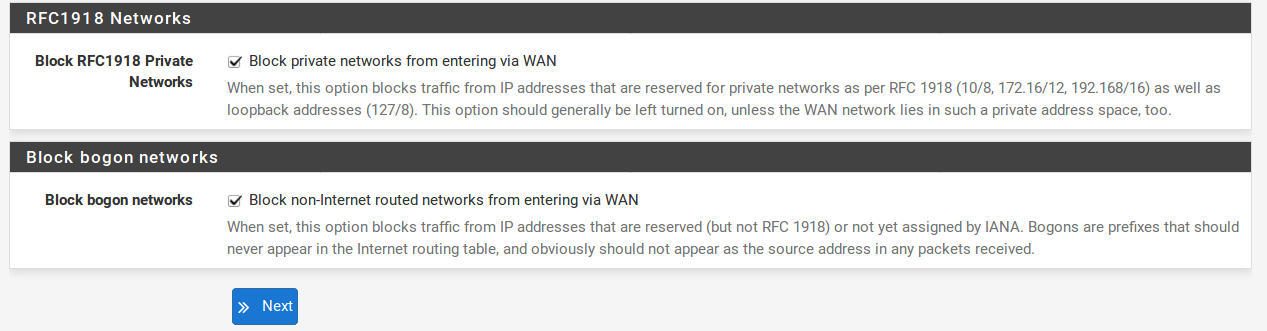
These last two options, seen in Figure Built-in Ingress Filtering Options, are useful for preventing invalid traffic from entering your network, also known as “Ingress Filtering”. Enabling Block RFC 1918 Private Networks will block registered private networks such as 192.168.x.x and 10.x.x.x from making connections to your WAN address. A full list of these networks is in Private IP Addresses. The Block bogon networks option will stop traffic from coming in that is sourced from reserved or unassigned IP space that should not be in use. The list of bogon networks is updated periodically in the background, and requires no manual maintenance. Bogon networks are further explained in Block Bogon Networks. Click Next to move on when finished.
LAN Interface Configuration
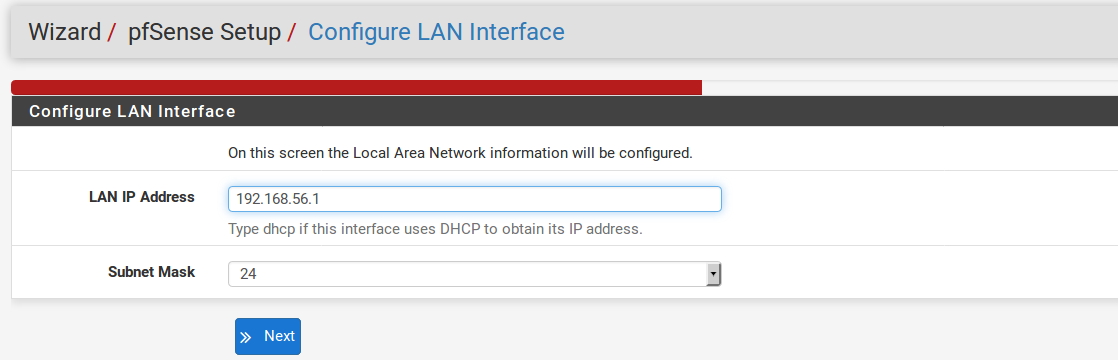
Here you are given an opportunity to change the LAN IP Address and Subnet Mask . If you don’t ever plan on connecting your network to any other network via VPN, the default is fine. If you want to be able to connect into your network using VPN from remote locations, you should choose a private IP address range much more obscure than the very common 192.168.1.0/24. Space within the 172.16.0.0/12 RFC 1918 private address block seems to be the least frequently used, so choose something between 172.16.x.x and 172.31.x.x for least likelihood of having VPN connectivity difficulties. If your LAN is 192.168.1.x and you are at a wireless hotspot using 192.168.1.x (very common), you won’t be able to communicate across the VPN 192.168.1.x is the local network, not your network over VPN.
If the LAN IP needs to be changed, enter it here along with a new subnet mask. Be aware that if you change these settings, you will also need to adjust your PC’s IP address, release/renew its DHCP lease, or perform a “Repair” or “Diagnose” on the network interface when finished with the setup wizard.
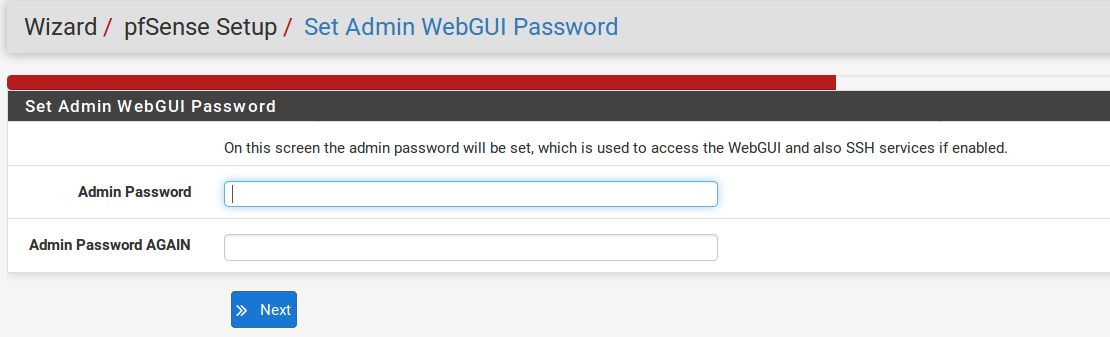
Set admin password
Next you must change the administrative password for the WebGUI as shown in Figure Change Administrative Pass- word. This password should be something strong and secure, but no restrictions are automatically enforced. Enter the password twice to be sure that has been entered correctly,then click Next.
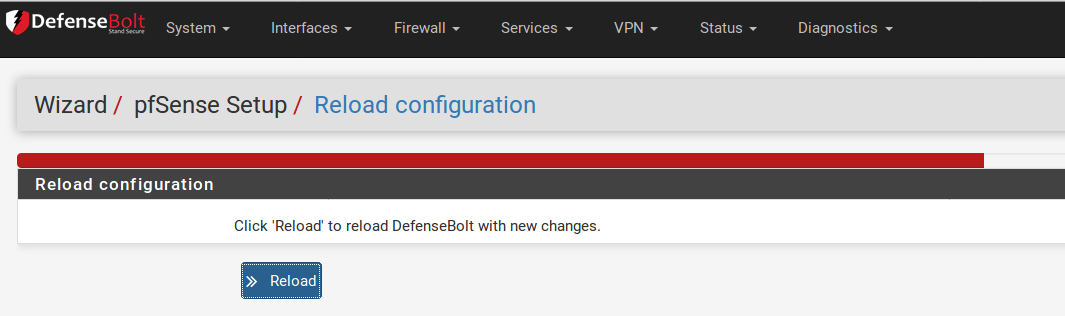
Completing the Setup Wizard That’s the end of the setup wizard, click Reload (Figure Reload DefenseBolt WebGUI) and the WebGUI will reload. If you changed the LAN IP, adjust your PC’s IP address accordingly. You will also be prompted for the new password. The username is still admin .