CAPTIVE PORTAL
How To Set Up A Captive Portal Using DefenseBolt
DefenseBolt provides an easy way to set up a captive portal for your network. Using the portal allows you to direct the users on your network to a specific web page before they are allowed to access the internet. The web page can be a simple page with instructions and terms of use, or a page that requires a username and password for authentication.
Captive portals are most commonly used for wireless hotspots. If you’ve ever used the wireless network at a hotel or airport then you have most likely clicked through a portal before you were able to go online. They can also be used on wired connections for business centers, internet Cafés, or your home!
Once the portal has been enabled any computer that points to the DefenseBolt router as the gateway will be automatically redirected to the portal landing page.
1.1 Managing Captive Portal Zones
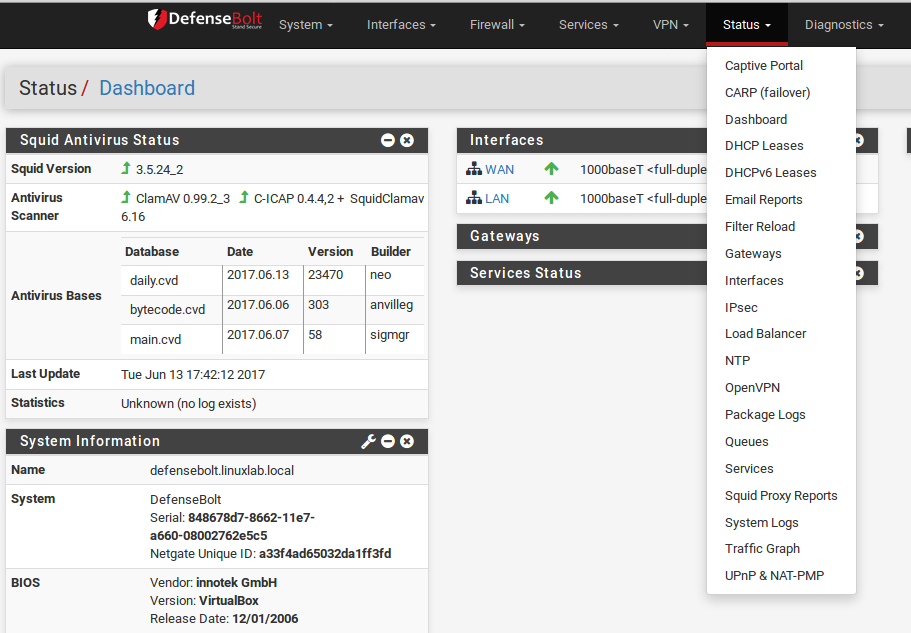
Captive Portal zones are managed at Services > Captive Portal. A list of zones is displayed there, and zones may be added, edited, or deleted from that list.
To create a new Captive Portal zone:
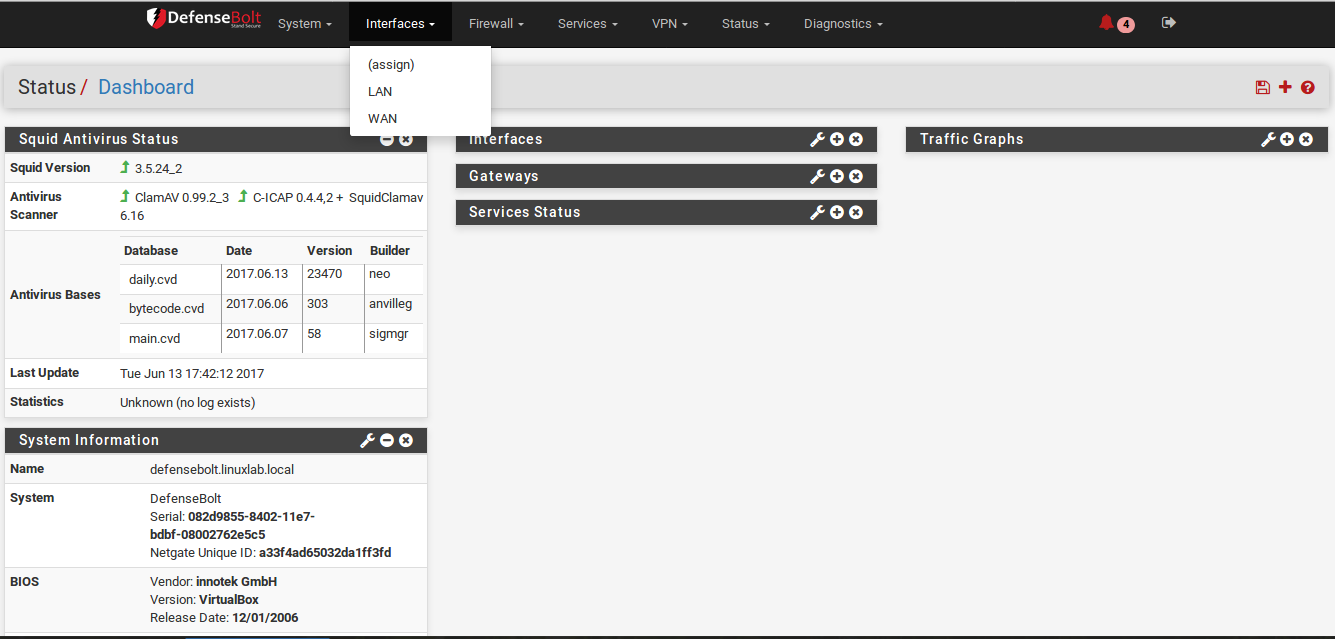
- Navigate to Services > Captive Portal
- Click ADD butten
- Enter a Zone Name, which may only consist of letters, digits, numbers, and underscores. Spaces and other special characters may not be used
- Enter an optional Zone Description to further describe the zone, if desired
- Click Save & Contine to move on to the portal settings for the zone
- Hence Enable captive portal
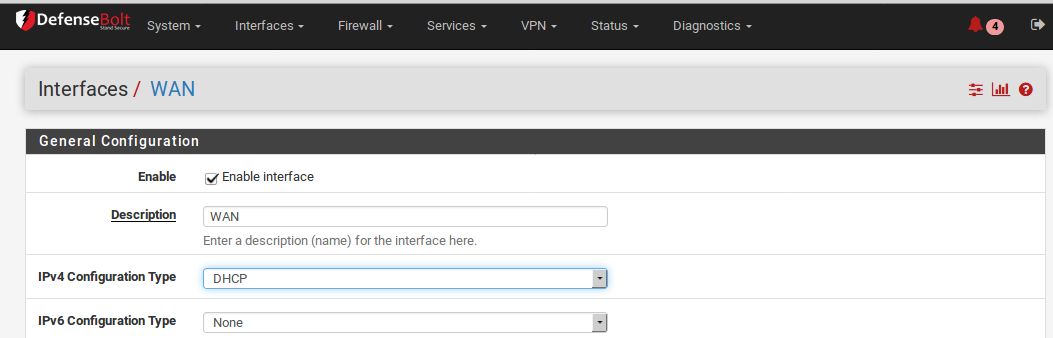
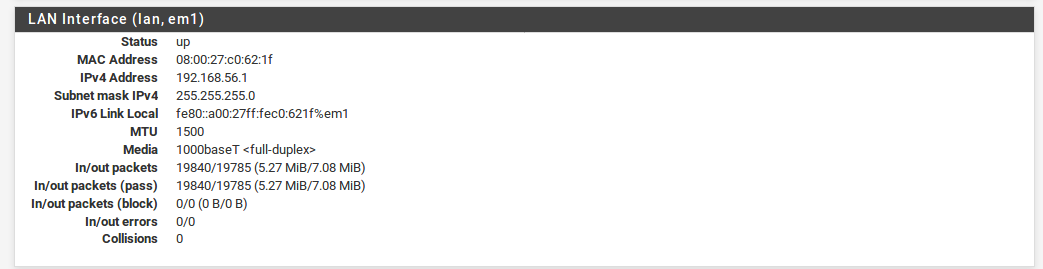
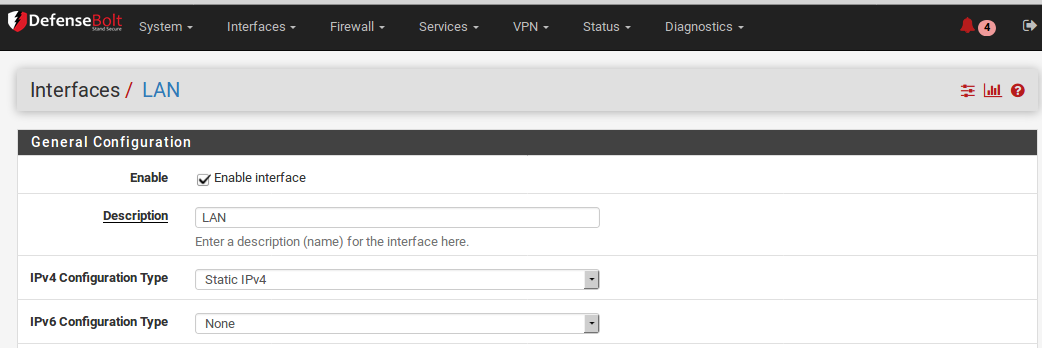
Interface Determines the interfaces that will be active for this Captive Portal zone. This cannot be a WAN interface. It can be a bridge interface so long as it is the actual bridge (e.g. bridge0) and the bridge interface has an IP address assigned.
Maximum concurrent connections Specifies the maximum number of concurrent connections to the portal web server per IP address. The default value is 4, which is sufficient for most environments. This limit exists to prevent a single host from exhausting all resources on the firewall, whether inadvertent or intentional. One example where this would otherwise be a problem is a host infected with a worm. The thousands of connections issued will cause the captive portal page to be generated repeatedly if the host is not authenticated already, which would otherwise generate so much load it would leave the firewall unresponsive.
Idle timeout A timeout, specified in minutes, after which idle users will be disconnected. Users may log back in immediately.
Hard timeout A timeout, specified in minutes, which will forcefully log off users after a specified period. Either a hard timeout, idle timeout or both shoud be entered to ensure sessions are removed if users do not log off, as most users likely will not. Users will be able to log back in immediately after the hard timeout if their credentials are still valid (for local accounts, not expired, and for RADIUS authentication, user can still successfully authenticate to RADIUS).
Note: If a timeout value is set, the timeout must be less than the DHCP lease time or captive portal sessions can remain active for IP addresses that have switched to different devices. Setting the timeout lower will ensure that the portal sessions end before the lease would be reallocated to a new client.
Pass-through credits allowed per MAC address: The number of times a specific MAC address may connect through the portal. Once used up, the client can only log in with valid credentials until the waiting period specified below has expired.
Waiting period to restore pass-through credits: The number of hours after which clients will have their available pass-through credits restored to the original count after using the first one. This must be above 0 hours if pass-through credits are enabled.
Reset waiting period: on attempted access If enabled, the waiting period is reset to the original duration if access is attempted when all pass-through credits have already been exhausted. This will prevent people who repeatedly attempt to access the portal from gaining open access too quickly.
Logout popup window: When checked, a logout pop up window is shown to the user which allows clients to explicitly disconnect themselves before the idle or hard timeout occurs. Unfortunately, since most browsers have pop up blockers enabled, this window may not work for most clients unless the portal can be excluded from pop-up blocking in their browsers.
Pre-authentication redirect URL: As the name implies, this option redirects users to the specified URL before they authenticate. Commonly, this is used to display a custom landing page describing the device location hosted on a server locally or elsewhere That landing page must contain a link which in turn redirects the users back to the portal page, e.g. http://x.x.x.x:8002/index.php.
After authentication Redirection URL: After authenticating or clicking through the portal, users will be redirected to this URL rather than the one they originally tried to access. If this field is left blank, the user will be redirected to the URL the user initially attempted to access.
Concurrent user logins: When checked, only one login per user account is allowed. The most recent login is permitted and any previous logins under that username will be disconnected. This is not a total limit for the entire portal, but a per-account limit.
MAC filtering: When set, MAC address filtering is disabled. This is necessary in cases where the MAC address cannot reliably be determined, such as when multiple subnets exist behind a separate router using the portal. In that type of situation, all users behind a router will show up to the portal with the router’s MAC address. If this option is set, no attempt will be made to ensure that the MAC address of clients stay the same while they’re logged into the portal.
Note: If this option is checked is enabled, RADIUS MAC authentication cannot be used.
Pass-through MAC Auto Entry: In some use cases, users may only need to authenticate once per device, and then never see the portal login again unless they change devices. Setting up pass-through MAC entries can automatically achieve this goal.
Pass-through MAC automatic additions: If this option is set, a MAC passthrough entryis automatically added after the user has successfully authenticated. Users of that MAC address will never have to authenticate again unless the entry is manually removed. To remove the passthrough MAC entry, log in and remove it manually from the Pass- through MAC tab.
Note: If this option is enabled, RADIUS MAC authentication cannot be used and the logout window will not be shown.
Pass-through MAC automatic addition with username: If this option is set, the user-name used during authentication will be saved along with the pass- through MAC entry. To remove the passthrough MAC entry, log in and remove it manually from the Pass-through MAC tab.
Per-user bandwidth restrictions: Captive Portal can also optionally rate-limit users to keep them from using too much bandwidth. The Default download and Default upload fields define the default values for user bandwidth, specified in Kilobits per second. These values can be overridden by RADIUS (Passing back configuration from RADIUS Servers) for different limits for specific users. If the fields are blank or set to 0, then users may have unlimited bandwidth.
Authentication: This section allows authentication to be configured. If authentication is required, either the local user manager or RADIUS authentication may be used.
No Authentication When selected, users need only click through the portal screen for access. The form must still be submitted, but it does not need to have any user entry fields, only a submit button.
Local User Manager / Vouchers: This option allows users to authenticate with a username and pass-word, but not with a RADIUS server. Captive Portal users in this mode are managed in the defensebolt GUI. Local users are added in the User Manager User Management and Authentication.
Additionally, if Allow only users/groups with ‘Captive portal login’ privilege set is checked, then to access the portal, users must have the Captive Portal privilege on their account, or be a member of a group containing this privilege
Vouchers are pre-generated access codes that can be provided to users to grant short-term access. Vouchers may be used in addition to, or instead of, local user authentication. For more information on using vouchers, see Vouchers later in this chapter.
RADIUS Authentication When selected, the RADIUS server options are displayed and Captive Portal users in this zone will be validated against the configured RADIUS server(s).
RADIUS Authentication Optoins
RADIUS is a means of authenticating users against a central server that contains account information. There are many implementations of RADIUS, such as FreeRADIUS, Radiator, and NPS on Windows servers. For those with a Microsoft Active Directory network infrastructure, RADIUS can be used to authenticate captive portal users from Active Directory using Microsoft NPS. This is described in RADIUS Authentication with Windows Server. RADIUS accounting can be enabled to send usage information for each user to the RADIUS server. Refer to documentation for the RADIUS server for more information. To use RADIUS, select RADIUS Authentication under Authentication and then fill in the data about the RADIUS server.
RADIUS Protocol Control which protocol the RADIUS server can use for authentication. The available choices are:
PAP (Password Authentication Protocol): The least secure but most compatible option, PAP sends passwords in plain text.
CHAP_MD5 (Challenge-Handshake Authentication Protocol): More secure than PAP, CHAP uses MD5 and encrypts the password during transmission. While more secure than PAP on the wire, the server side must know the cleartext password in order to calculate the challenge.
MSCHAPv1 (Microsoft CHAP, Version 1): A Microsoft-designed variation of CHAP primarily used in older versions of Windows (NT 3.x through Windows 95). There are programs available that can easily capture the password hashes from the exchange.
MSCHAPv2 (Microsoft CHAP, Version 2): Adds more security features on top of CHAP/MS-CHAP v1.
The relative (in)security of these protocols may be of little consequence depending on the layout of the network and the location of the RADIUS server, but should still be considered.
Primary Authentication Source
The Primary/Secondary RADIUS Servers are used for the main username and password fields on the login form.
If the primary RADIUS server is down, the secondary RADIUS server will be tried.
IP Address The IP address or hostname of the RADIUS server
Port The authentication port for the RADIUS server, typically 1812.
Shared Secret The shared secret for this firewall on the RADIUS server.
Secondary Authentication Source
The secondary authentication source defines a completely separate RADIUS authentication setup from the primary. For example, the primary RADIUS source could be traditional usernames and passwords, while the secondary could be pre- paid card numbers or PINs. As with the primary authentication source, a primary server and secondary server may be defined.
Accounting
RADIUS accounting will send session information back to the RADIUS server indicating when a user’s session starts, ends, and how much data they have transmitted.
Warning
Not all RADIUS servers support or are configured to accept accounting data, so make sure that the RADIUS server has been setup up properly before enabling this feature.
Accounting Port Configures the port upon which the RADIUS server accepts accounting packets, typically 1813.
Accounting Updates This configures what specific type of accounting is supported by the server.
No updates Synonymous with disabling accounting, it will not send accounting updates to the server.
Stop/start Will send START and STOP records for a user session only.
Stop/start (FreeRADIUS) Will send START and STOP records for a user session only, in a way that is compatible with FreeRADIUS.
Interim Will send START and STOP records and also periodically send updates to the server while a user session is active. This is less likely to lose session data if the firewall restarts without notifying the RADIUS server of a STOP message, but will cause increased database usage on the RADIUS server.
RADIUS Options
These options fine-tune how RADIUS authentication behaves.
Reauthentication If enabled, Access-Request packets will be sent to the RADIUS server for each user that is logged in every minute. If an Access-Reject is received for a user, that user is disconnected from the captive portal immediately. This allows actively terminating user sessions from the RADIUS server. Note If concurrent login limits are defined in RADIUS this option may not work properly, as the additional request would fail as the reauthentication attempt would be considered a second concurrent login.
RADIUS MAC authentication If this option is enabled, the captive portal will attempt to authenticate users by sending their MAC address as the username and the password entered into MAC authentication secret to the RADIUS server. This option cannot be used if MAC filtering is disabled.
RADIUS NAS IP attribute This field controls what is sent to the RADIUS server in the Calling-Station attribute. Choose the Interface/IP address to use from the drop-down list.
Session-Timeout When Use RADIUS Session-Timeout attributes is enabled, clients will be disconnected after the amount of time retrieved from the RADIUS Session-Timeout attribute
Type Sets the RADIUS vendor type for the client behavior. If RADIUS Type is set to Cisco, Access-Request packets will have the value of Calling-Station-Id set to the client IP address and the Called-Station-Id set to the client MAC address. Default behavior is Calling-Station-Id = client MAC address and Called-Station-Id = firewall WAN IP address.
Accounting Style When Invert Acct-Input-Octets and Acct-Output-Octets is enabled, data counts for RADIUS accounting packets will be taken from the client perspective, not the NAS. Acct-Input-Octets will represent download, and Acct-Output-Octets will represent upload.
NAS Identifier The hostname of the firewall is sent as the NAS Identifier by default. Specify a NAS Identifier here to override the default value
MAC address format This option changes the MAC address format used in RADIUS. Change this to alter the username format for RADIUS MAC authentication to one of the following styles:
Default Colon-separated pairs of digits: 00:11:22:33:44:55
Single Dash Digits in two groups, separated by a single dash halfway: 001122-334455
IETF Hyphen-separated pairs of digits: 00-11-22-33-44-55
Cisco Groups of four digits separated by a period: 0011.2233.4455
- Unformatted All digits together with no formatting or separators:
HTTPS login
Check this box to use HTTPS for the portal page. If enabled, an SSL Certificate must also be selected.
HTTPS server name Specify the FQDN (hostname + domain) to be used for HTTPS. This must match the Common Name (CN) on the certificate to prevent users from receiving certificate errors in their browsers.
SSL Certificate Select the SSL certificate to be used by the portal for HTTPS logins. Certificates are managed in Certificate Management.
Disable HTTPS Forwards When checked, attempts to connect to HTTPS sites on port 443 are not redirected to the portal. This prevents users from receiving invalid certificate errors. Users must attempt a connection to an HTTP site, and will then be forwarded to the portal.