Schedules
Schedules are defined under Firewall>Schedules, and each schedule can contain multipletime ranges. Once a schedule is defined, it may then be used for a firewall rule. In the following example, a company wants to deny access to HTTP during business hours, and allow it all other times of the day.
Defining Times for a Schedule
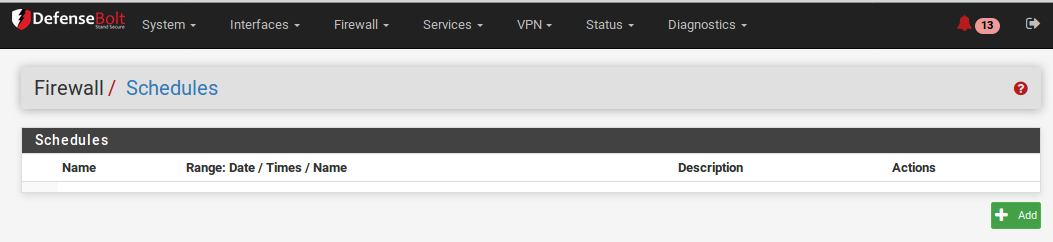
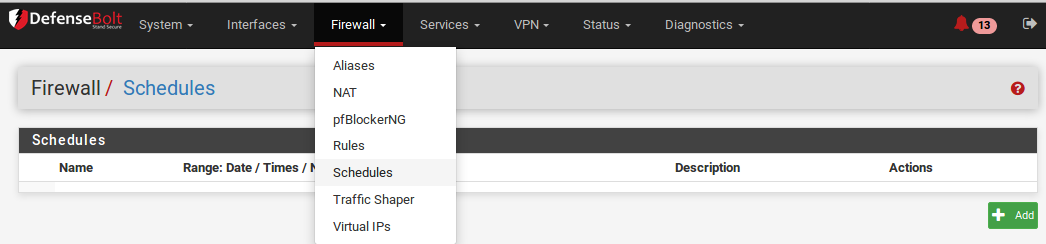
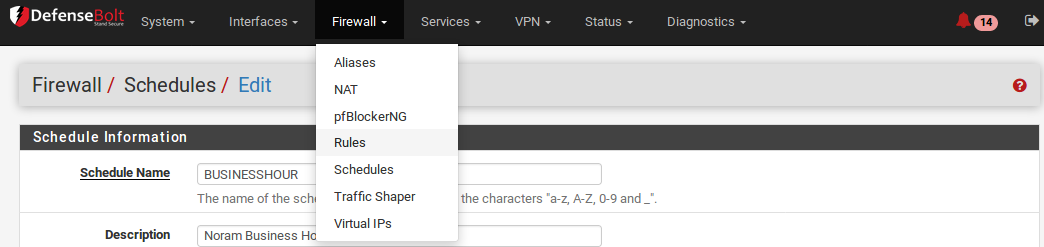
To add a schedule from Firewall->Schedules.click pluse That should bring up the schedule editing screen,
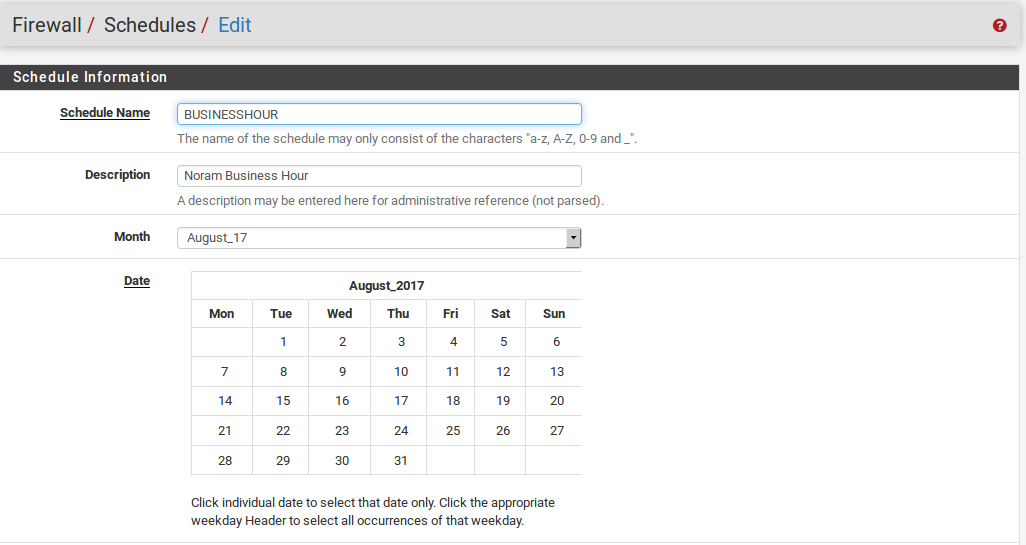
The first field on this screen is for the Schedule Name. This setting is the name that will appear in the selection list for use in firewall rules. Much like alias names, this name must only contain letters and digits, and no spaces. For this example, we’ll put in BusinessHours . Next in the Description box, enter a longer free form description of this schedule, such as Normal Business Hours . Since a schedule is made up of one or more time range definitions, you must next define a time range before you can save the schedule.
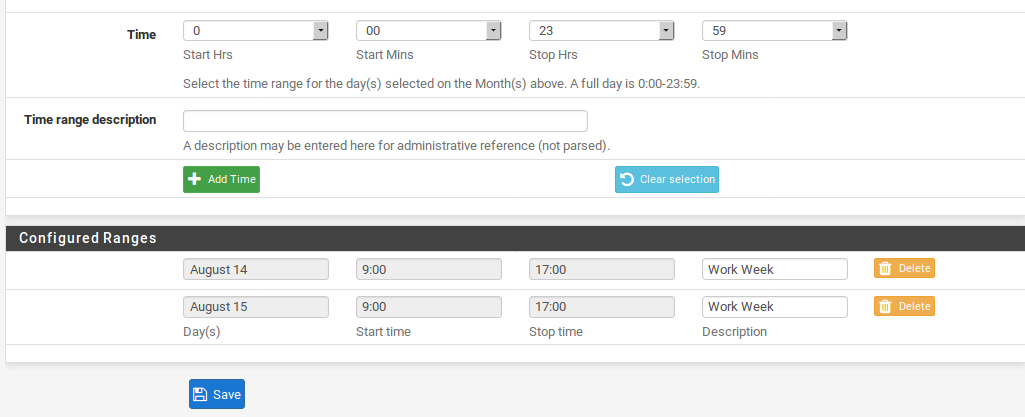
A schedule can apply to specific days, such as August 14, 2017, or to days of the week, such as Monday-Wednesday. To select any given day within the next year,choose the Month from the drop-down list, then click on the specific day or days on the calendar. To select a day of the week, click its name in the column headers. For our example, click on Mon, Tue, Wed, Thu, and Fri. This will make the schedule active for any Monday-Friday, regardless of the month. Now select the time in which this schedule should be active, in 24-hour format.Our business hours will be 9:00 to 17:00 (5pm). All times are given in the local time zone. Now enter a Time Range Description, like Work Week , then click Add Time.
Once the time range has been defined, it willappear in the list at the bottom of the schedule editing screen.
If there are more times to define, repeat that process until you are satisfied with the results. For example, to expand on this setup, there may be a half day on Saturday to define, or maybe the shop opens late on Mondays. Inthat case, define a time range for the identical days, and then another range for each day with different time ranges. This collection of time ranges will be the full schedule. When all of the necessary time ranges have been defined, click Save. You will then return to the schedule list, and the new schedule will appear, This schedule will now be available for use in firewall rules.
Using the Schedule in a Firewall Rule
To create a firewall rule employing this schedule, you must add a rule on the desired interface. See Adding a firewall rule and Configuring firewall rules for more information about adding and editing rules.
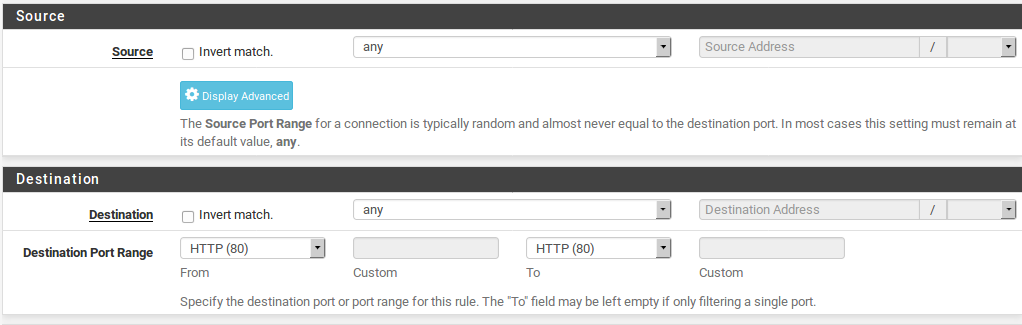

For our example, add a rule to block TCP traffic on the LAN interface from the LAN subnet, to any destination on the HTTP port. When you get to the Schedule setting choose the schedule we just defined, BusinessHours ,
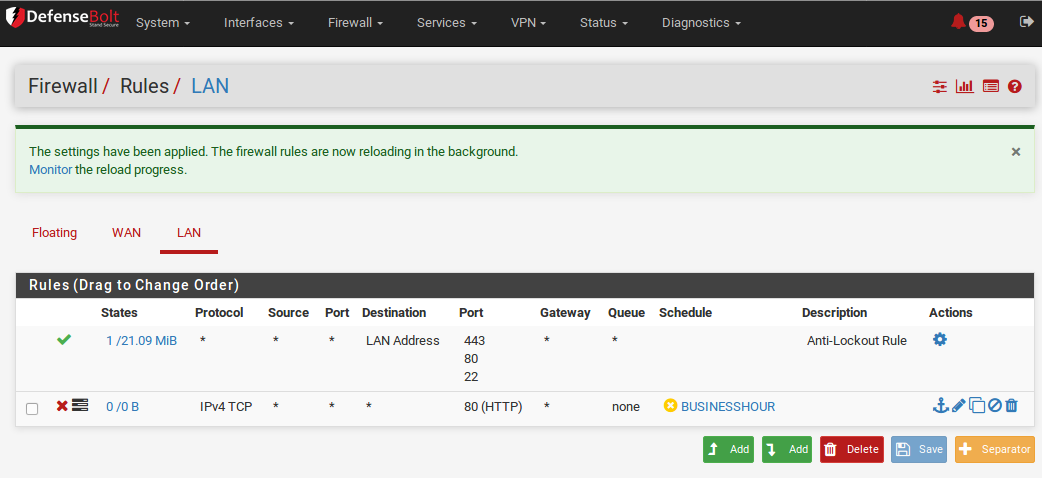
After saving the rule, the schedule will appear in the firewall rule list, along with an indication of the schedule’s active state. this is a block rule, but the schedule column is indicating that the rule is currently not in its active blocking state because it is beingviewed at a time that is outside of the scheduled range. If you hover over the schedule name, it will show the times defined for that schedule. If you hover over the schedule state indicator, it will tell you descriptively how the rule is behaving at that point in time. Since this is being viewed outside of the times defined in our BusinessHours schedule, this will say “This rule is not currently activebecause its period has expired”. If there isapass rule that would match the traffic outon port 80 from the LAN net after this rule, then it would be allowed during this time.